Inverse Kinematics
An inverse kinematics solver used to drive procedural animation.

Key Features
- Cyclic Coordinate Decent Inverse Kinematics (CCDIK)
- Forward And Backward Reaching Inverse Kinematics (FABRIK)
- Pole targets
- Procedural animation
Description
This was my submission for a class project in CSCI 5611: Animation & Planning in Games. The goal of this project was simply to implement a basic inverse kinematics (IK) solver with angle constraints. I expanded on this by using my IK solver to create a procedurally animated creature that could dynamically traverse its environment.
Discussion
Inspiration
The inspiration for how I approached this project came from the following reddit post, which I happened upon a few years ago and had always been interested in testing out for myself:
I tried to explain procedural animation in 10 steps
byu/happygamedev inUnity3D
CCDIK
Thus, my first step was to implement an IK solver! I decided to start with CCDIK as it seemed to be the most straight-forward implementation that would also enable me to apply angle constraints to the joints — a requirement of the assignment. To my surprise, I found that utilizing all of the bells and whistles that Unity has to offer allows a CCDIK implementation to be completed in roughly five lines of code:
for (int i = joints.Length - 2; i >= 0; i--) // Iterate through the joints, skipping the end effector but including the root
{
    Vector3 toGoal = // Calculate vector from current joint to goal
    Vector3 toEndEffector = // Calculate vector from current joint to end effector;
    joints[i].transform.rotation *= Quaternion.FromToRotation(toGoal, toEndEffector);  // Rotate end effector toward goal
}
As long as each joint is a child of the previous joint (in the Unity inspector hierarchy), this is more-or-less all you need to get some 3D inverse kinematics up and running!
My final CCDIK implementation allowed for angle constraints on all of the joints, and was therefore a fair bit more convoluted than the implementation above.
Let's Animate!
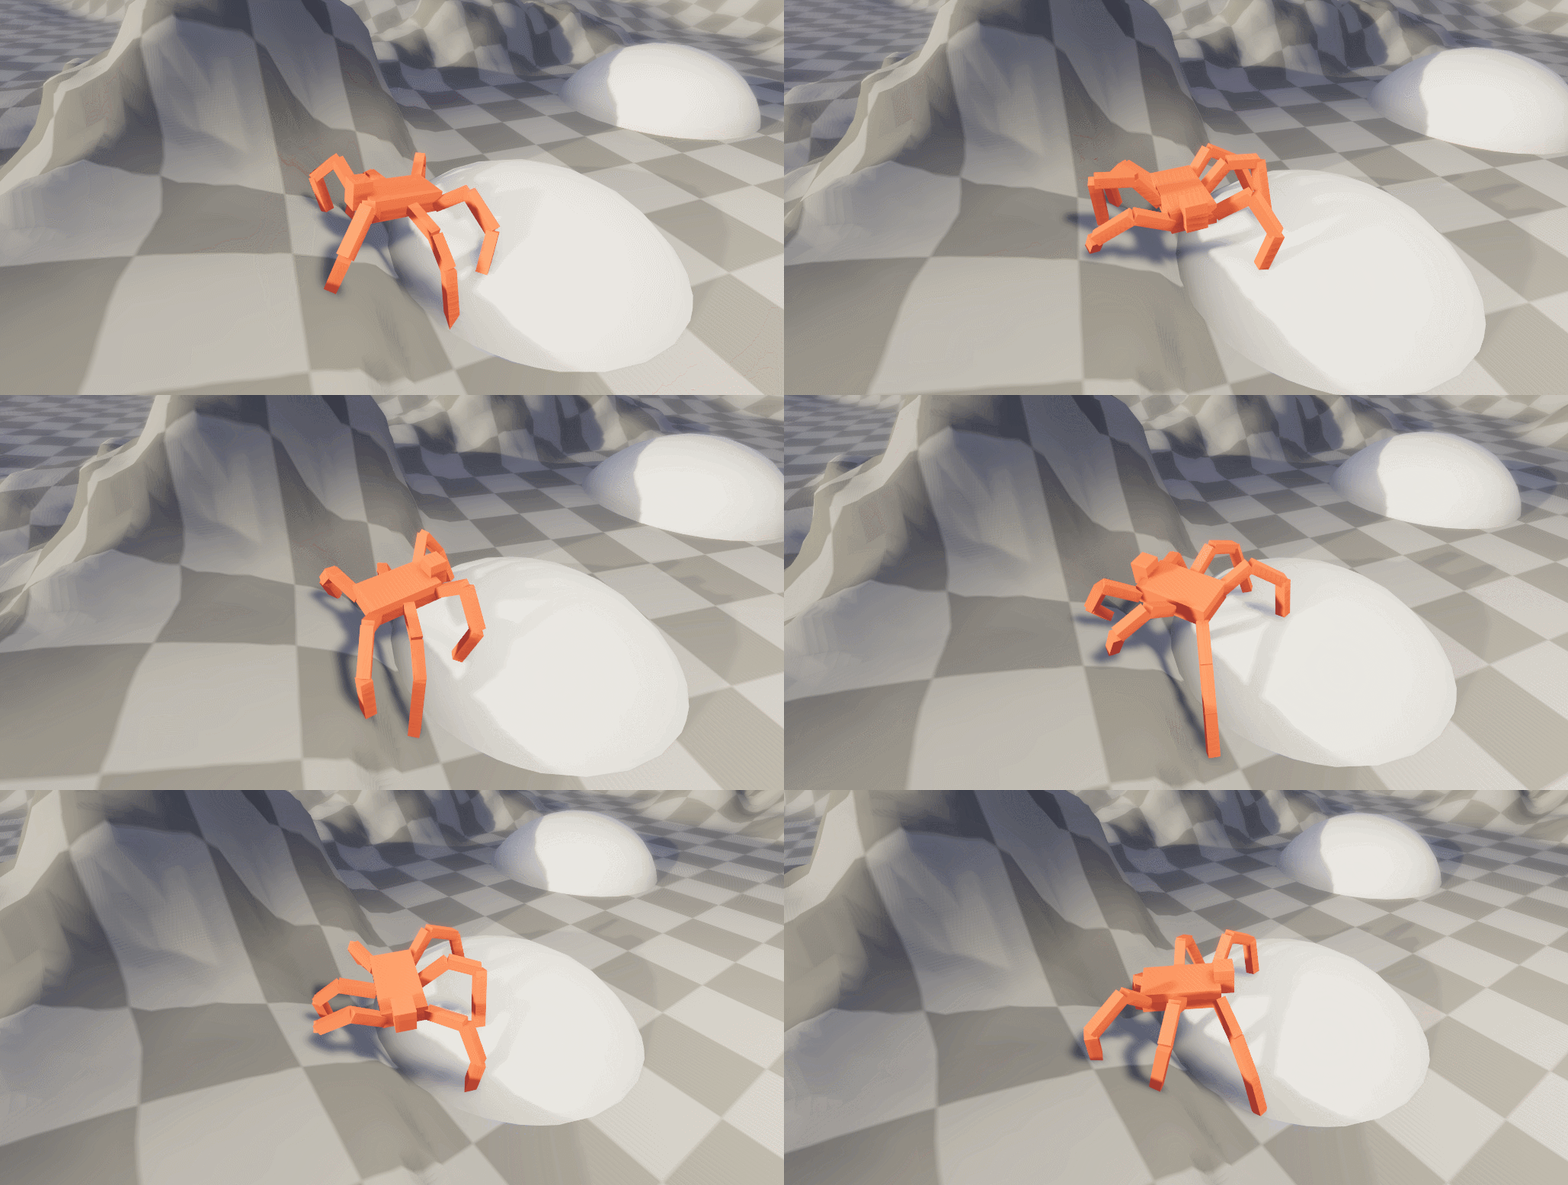
Following the rest of the steps in the reddit post, I was left with the following procedurally animated creature:
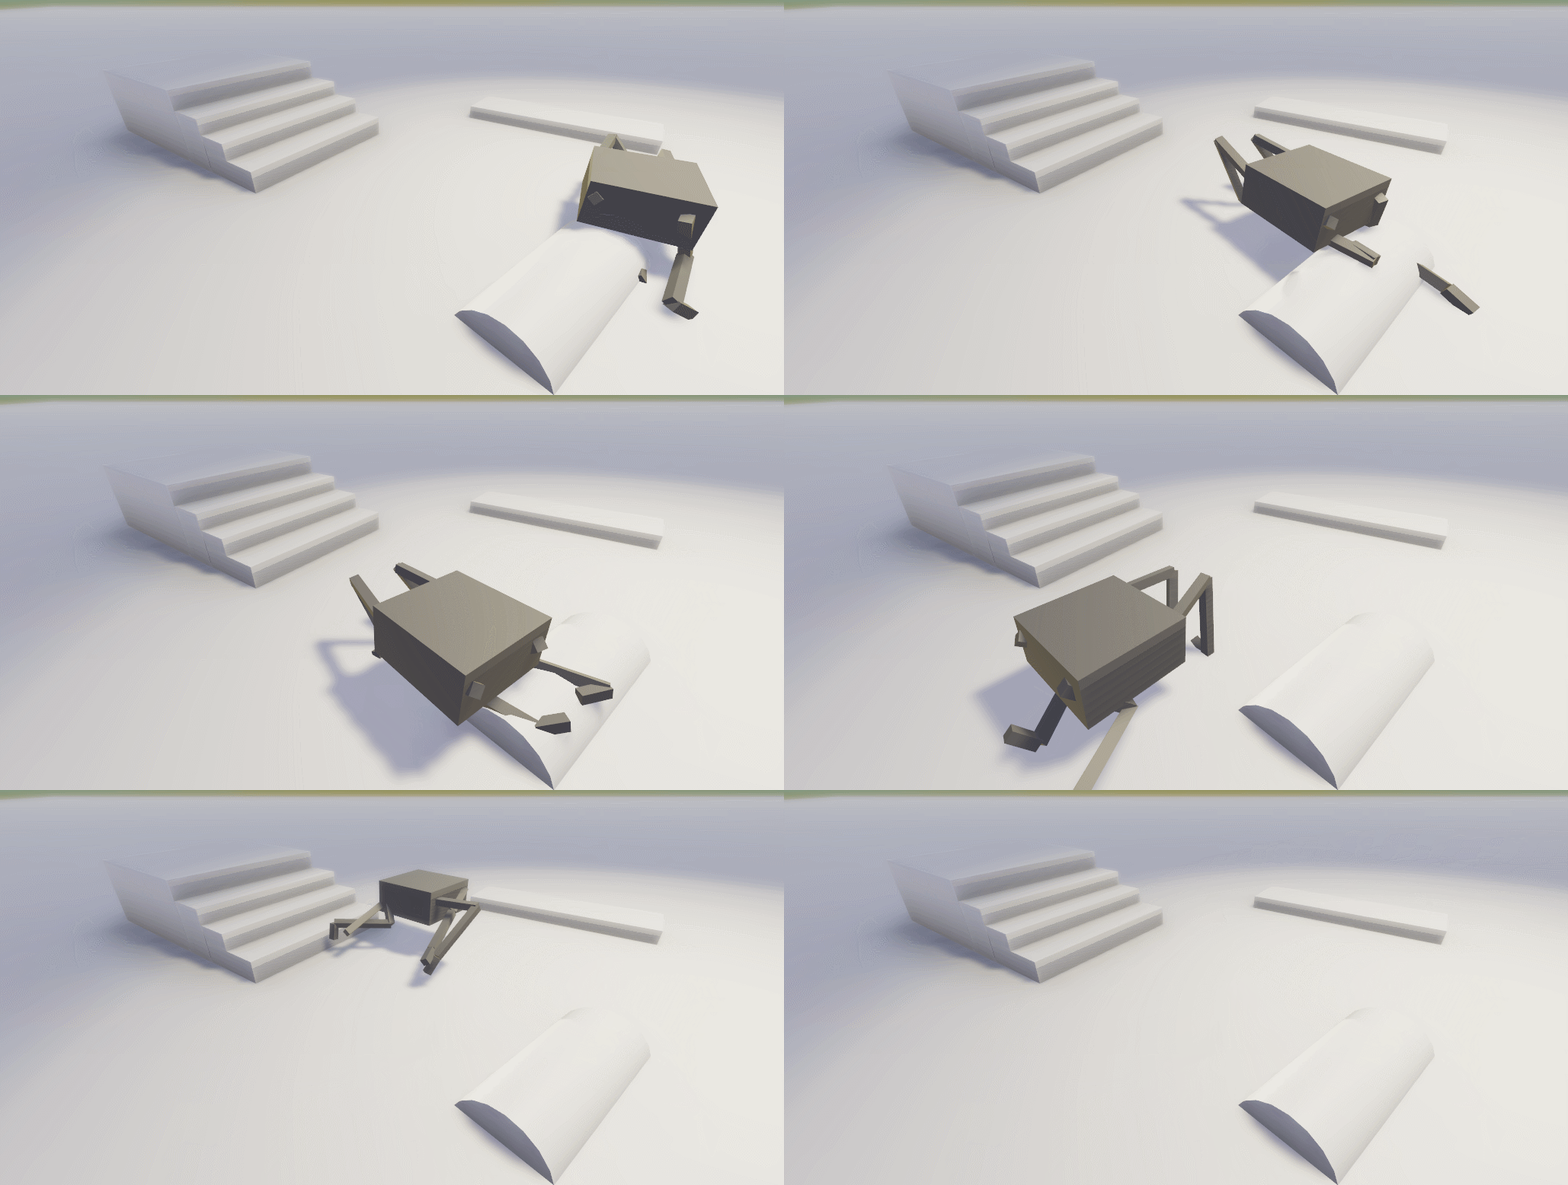
Huh? That doesn't seem quite right... Maybe fiddling around with the angle constraints will help?
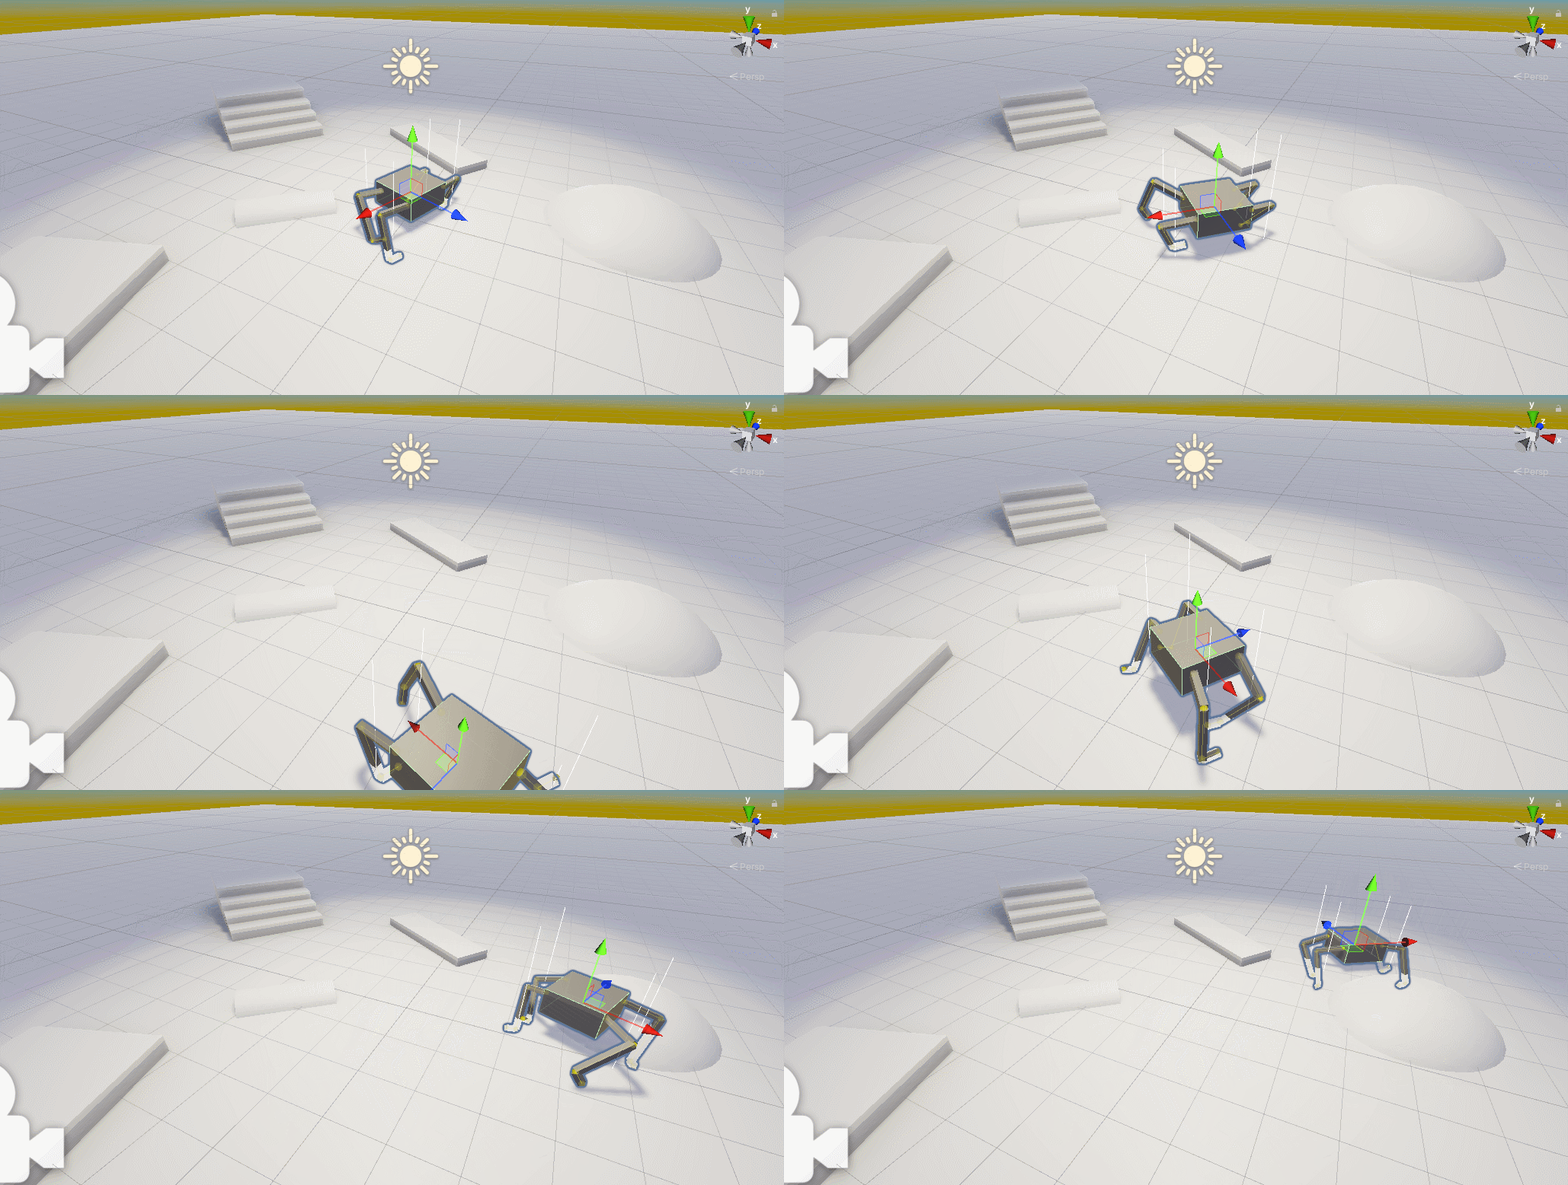
Still no good... (it appears to be making contact with the ground from underneath — a novel technique to say the least)
Pole Targets
While it might not be immediately evident from the GIFs above, the problem (as I saw it) lay in the size of the solution space that my IK solver provided. In short, the number of possible configurations that the joints could be positioned in to reach a particular goal in 3D was too large to consistently have the legs positioned in natural configuration (which is why it was more than happy to position the creature's ankles underneath the ground).
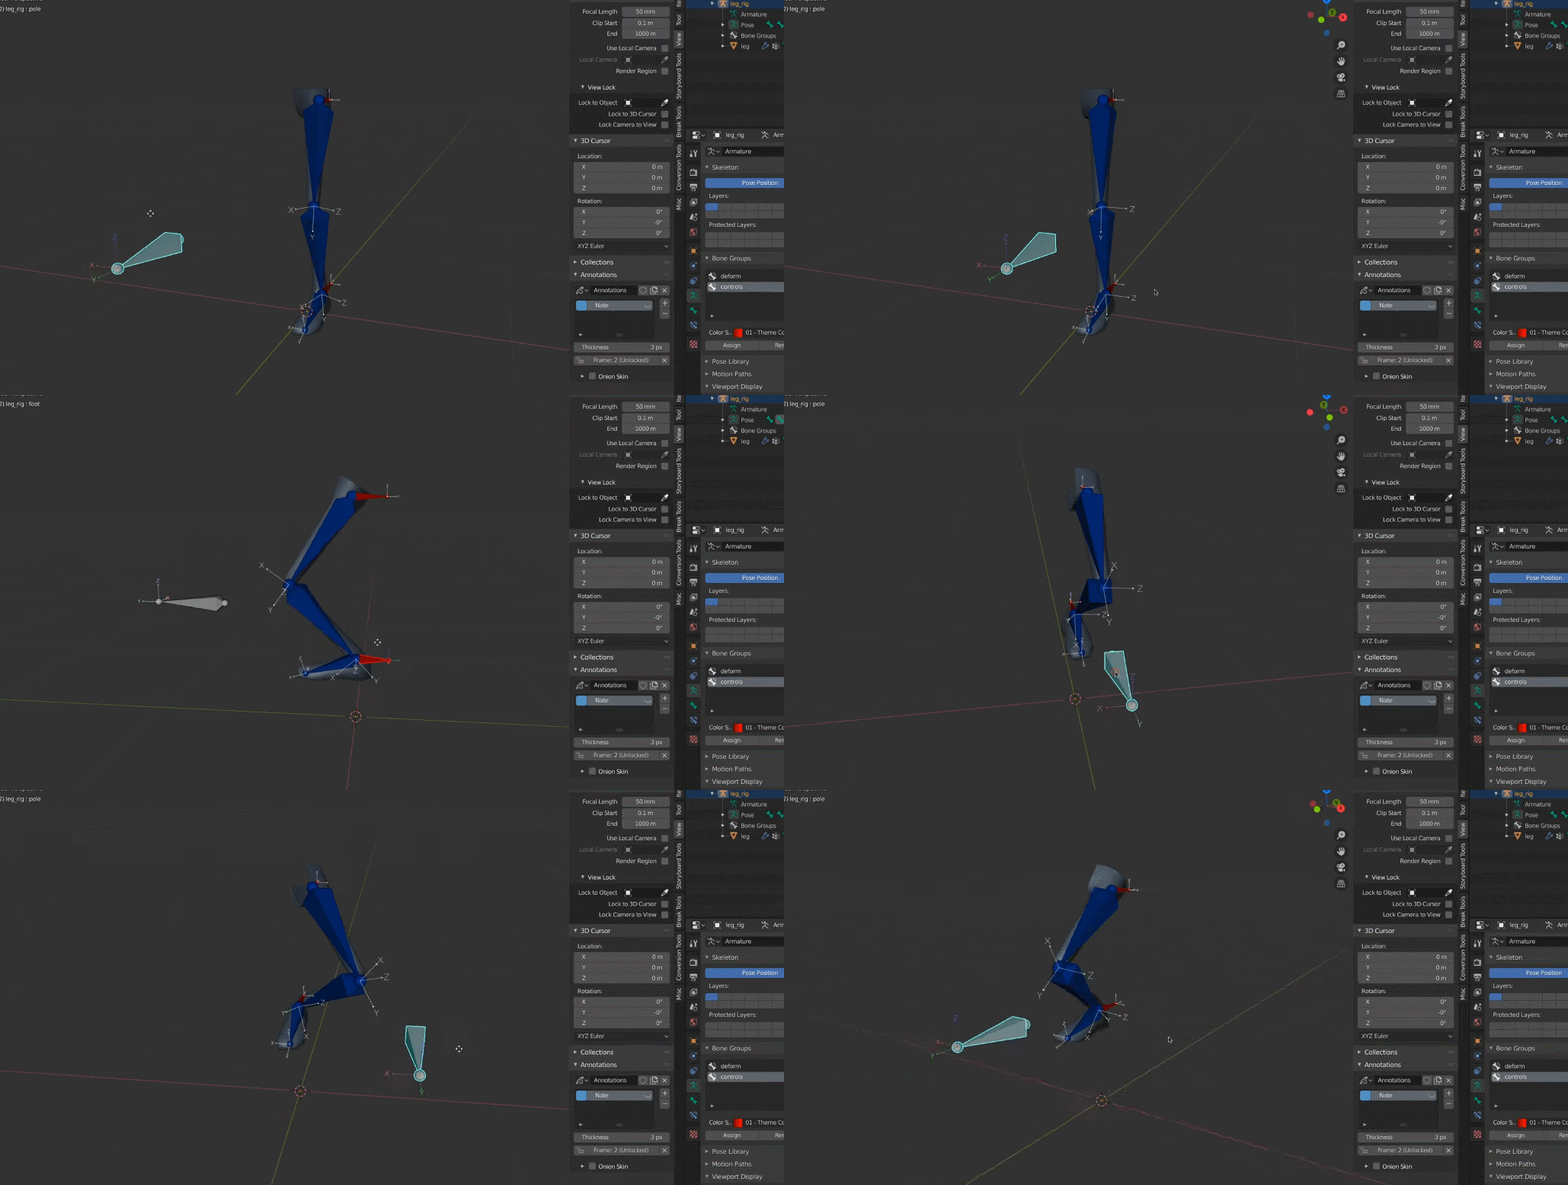
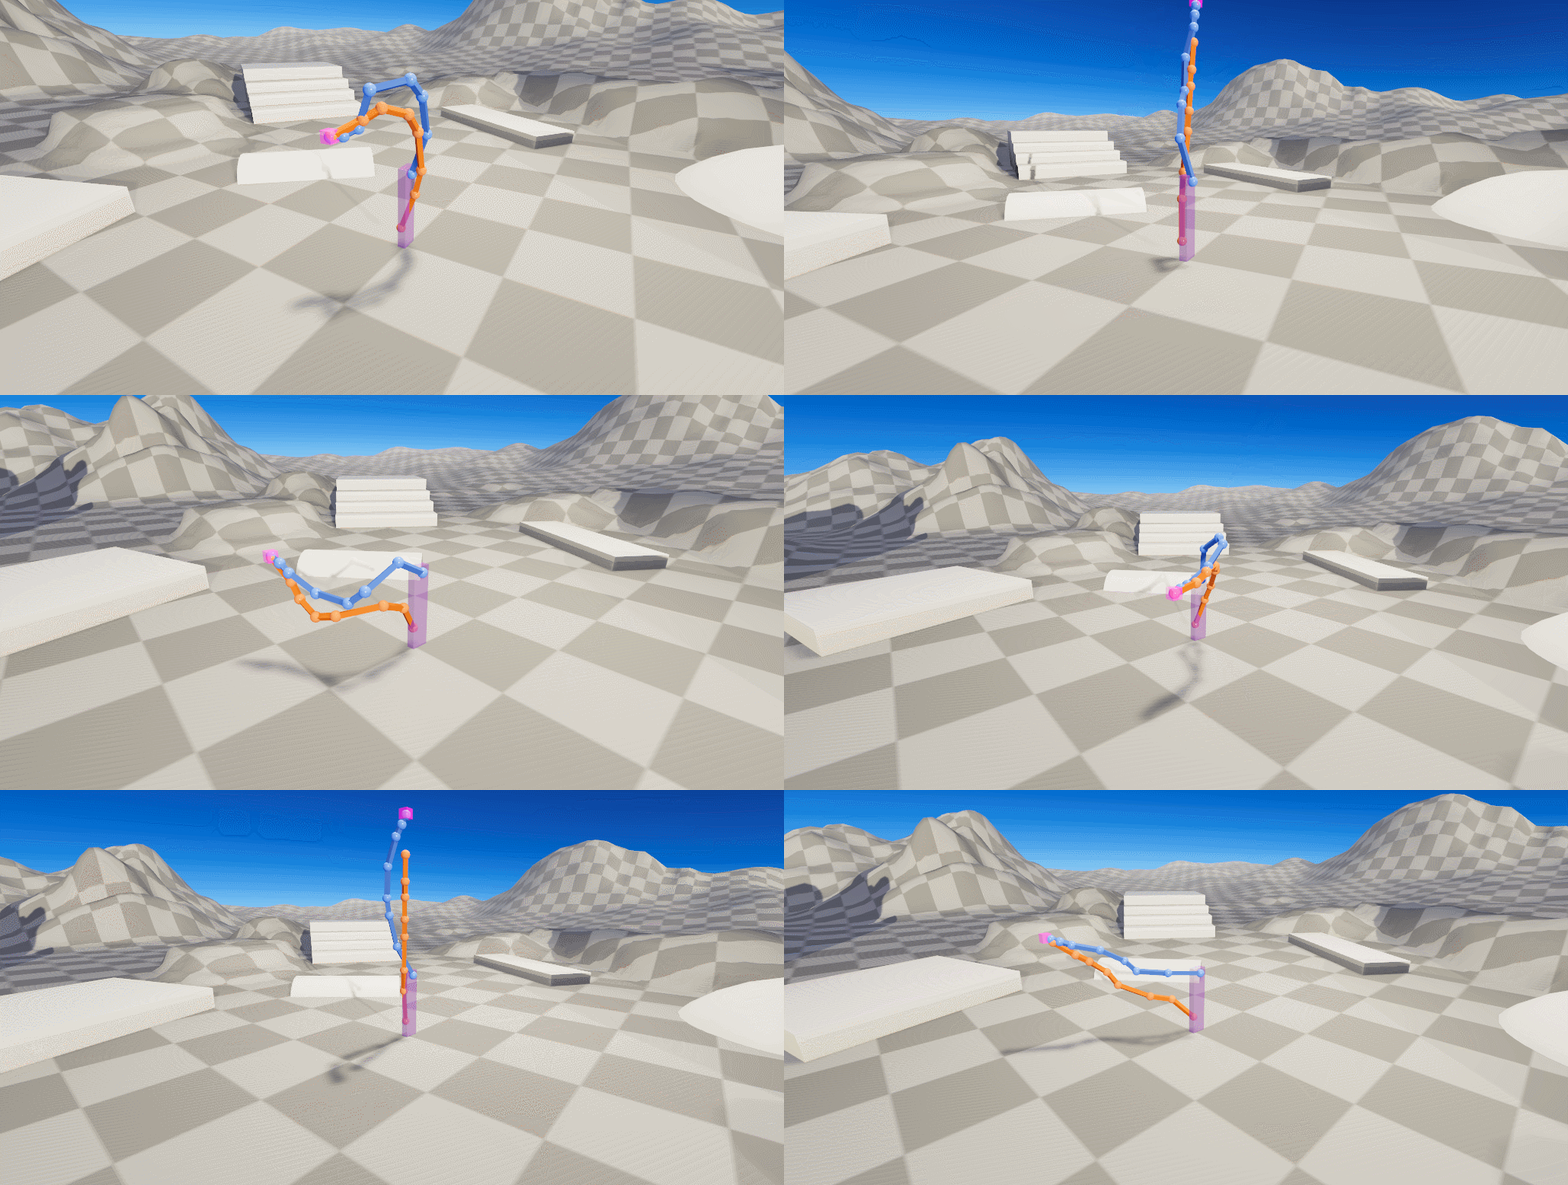
I needed some way to give the IK solver additional guidance in terms of the exact solutions I'd like to see, and thereby decrease the size of the solution space. To that end I did a bit of poking around and discovered that many IK solvers have an additional feature: the notion of "pole targets". As far as I understand it, pole targets allow you to "pull" the (joints of an) IK solution in a particular direction/orientation, so that you limit the range of the solution space to (ideally) better match your desired animation. Here's an example of a pole target being used to control knee orientation in Blender (taken from this YouTube video):
FABRIK
Unsure of how exactly to get this notion of pole targets into my CCDIK solver, I decided to go ahead and implement the FABRIK solver as well since the direct control it provides over the position of the joints (as opposed to their angles) seemed like it would grant the flexibility I needed to solve this problem.
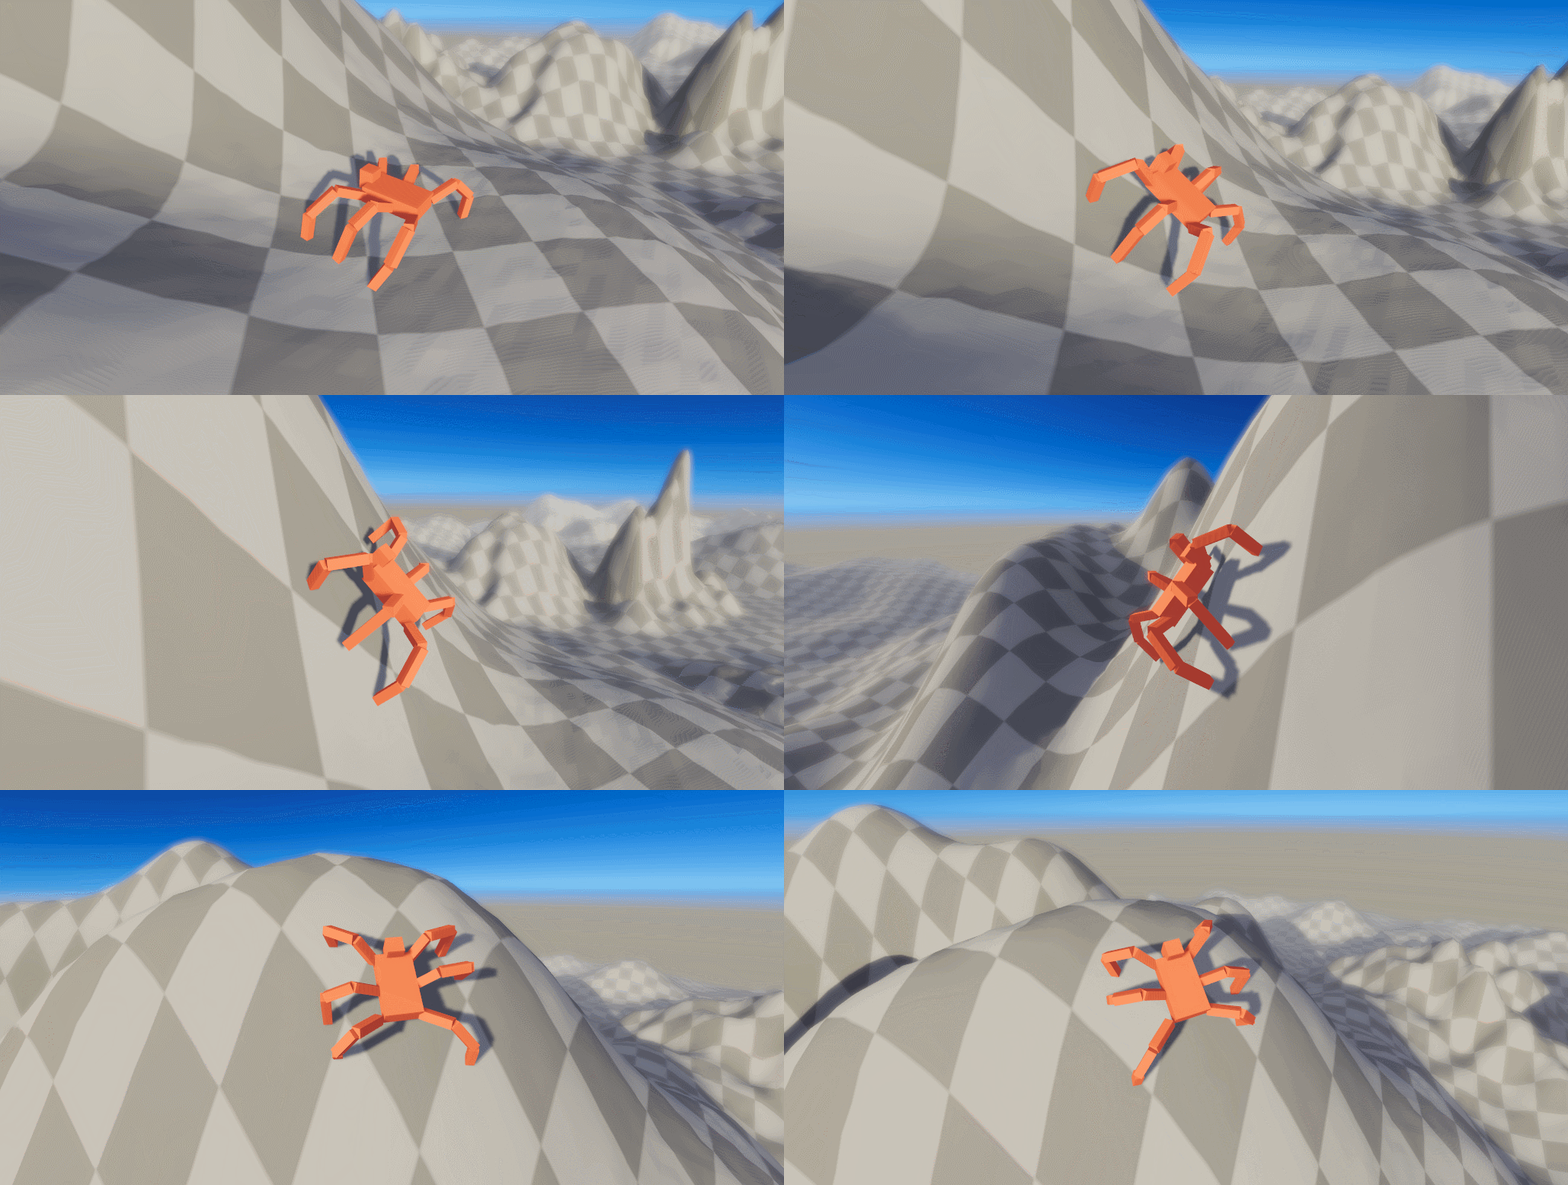
With FABRIK implemented, the first idea that came to mind for how I might go about introducing the notion of pole targets into my solver was to simply position the joints at their pole target positions every frame before running the FABRIK solver, and see if that encouraged them to maintain that orientation after a solution was arrived at. Turns out, it mostly did, and so with that simple solution in place I was left with a greater degree of control over the legs of my creature:
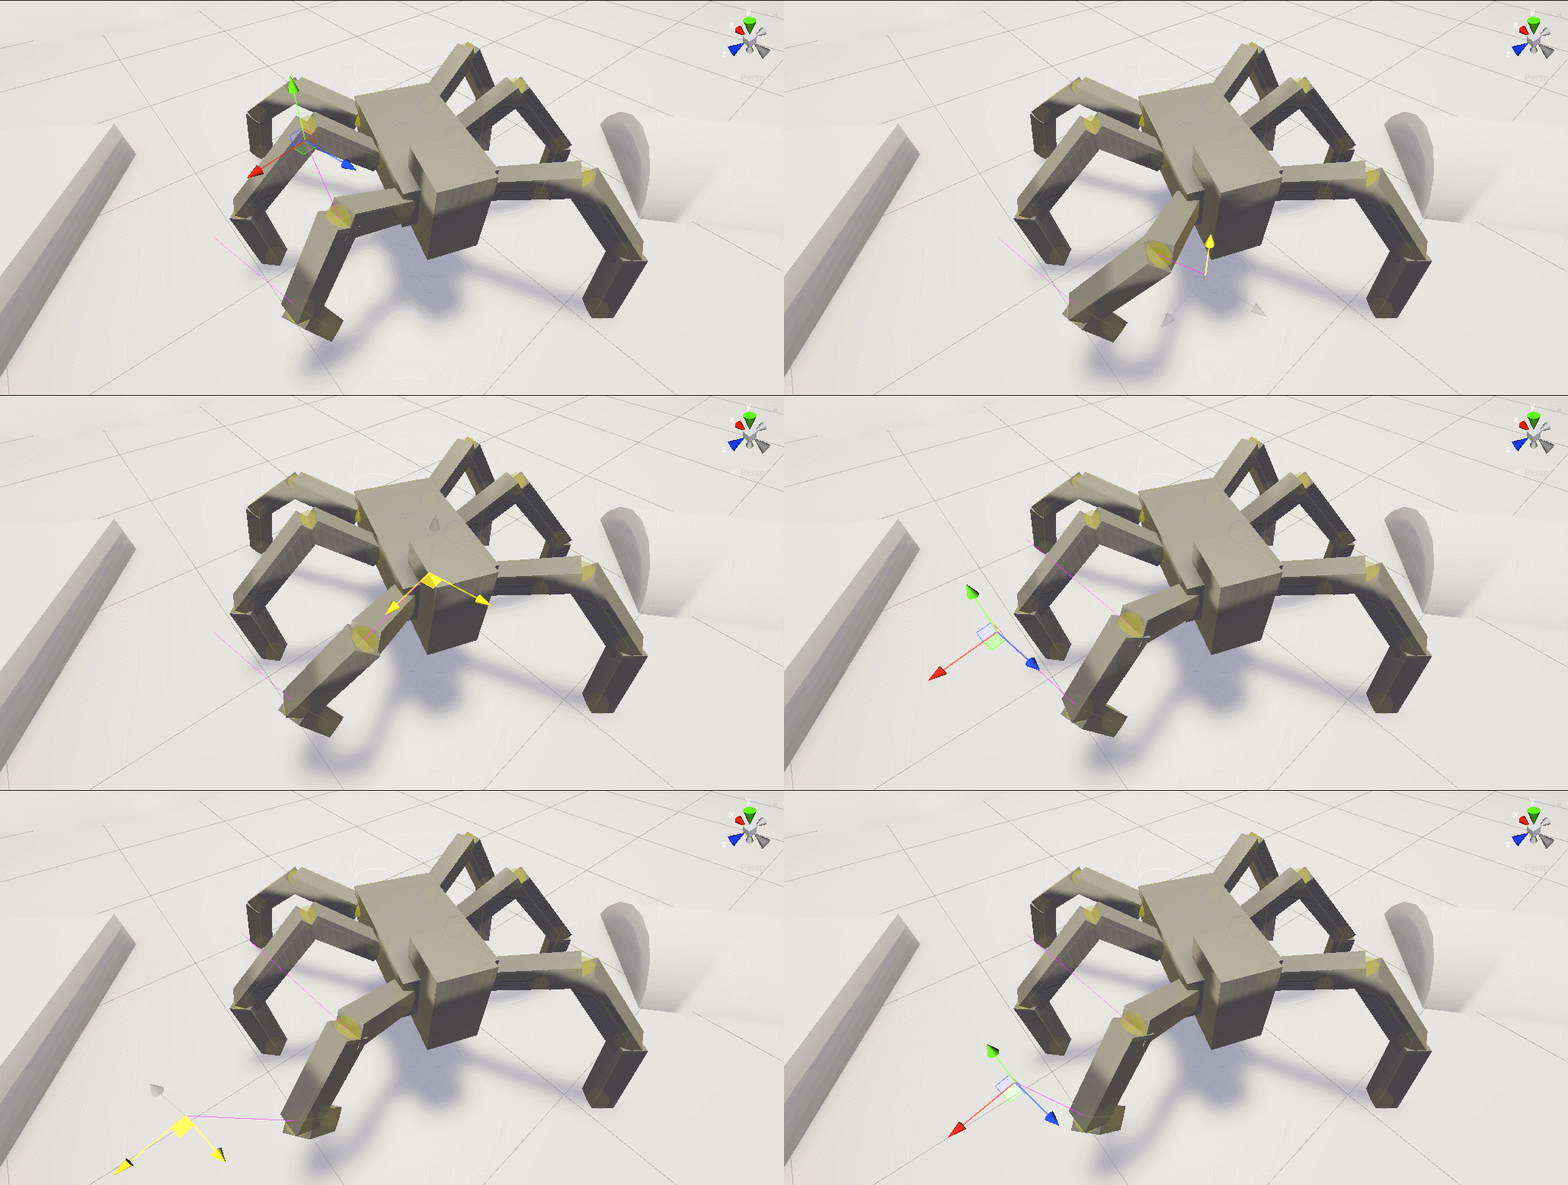
Putting it all together with a basic character controller and some obstacles to walk over, here's our simple "procedurally animated" creature:
Demo
Tools Used
Languages: C#
Software: Unity